In a lot of situations, it would be useful to have a Y-shaped jumper wire to split signals. For example, many variants of the Arduino Uno have only a single 5V pin. Unfortunately, most breakout boards require to connect their GND and 5V pins to the Arduino. If you do not use a breadboard, this can become very annoying due to the very limited amount of only a single 5V pin. Moreover, if you want to share a signal with an Arduino Uno and an oscilloscope, a Y-adapter for your pin could come in handy, too.
When I was looking for such Y-shaped jumper wires on shopping portals, I was a bit surprised that I could barely find any offer. Therefore, I decided to make my own Y-shaped jumper wire. If you are new with crimping connectors, it makes sense to have a look at my previous crimping tutorial.
List of Materials and Tools:
| Wire (e.g., 28AWG/0.5mm²) | |
| DuPont connector | |
| DuPont connector shell | |
| Engineer NS-04 Micro nippers | |
| Engineer PA-14 Wire Stripper | |
| Engineer PA-09 connector pliers |
Instructions:
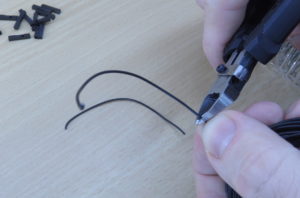
First, I took two wires and cut them to the same length:
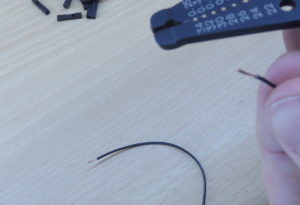
Next, for each wire, I stripped off the insulation of both ends:
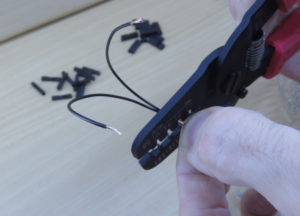
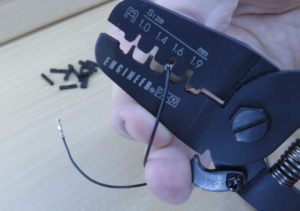
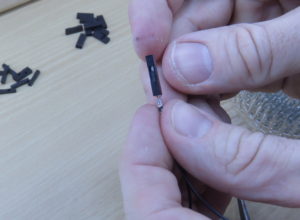
Then, I did the actual crimping. The main difference between crimping conventional jumper wires and my Y-adapter is that two wires are crimped to a single connector on one end:
The remaining other two ends are crimped as usual:
Then, the housings must be put on each connector. The connector with two wires just fits to the housing. In case the housing does not slide in easily, I recommend to use the help of a pair of pliers.
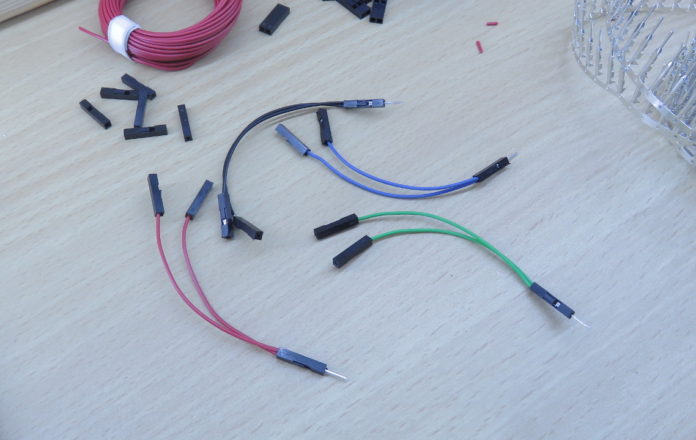
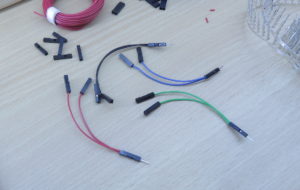
And here is the result:
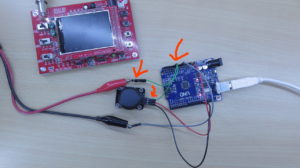
I made four times the same Y-adapter type (1x male to 2x female). Basically, you can make any type of Y-adapter that you want. The only thing you need is a sufficient amount of female- and male connectors, connector housings, and wire. Now, I’m able to easily split the signal coming from a breakout board without the need of a breadboard. Here is an example where I split the signal of a joystick breakout between an Arduino and an oscilloscope:
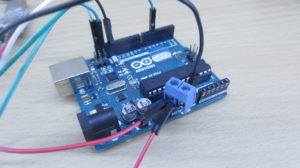
By the way, another possibility of splitting a signal without a breadboard is to use PCB terminals. A PCB’s pin fits perfectly to the female pin of an Arduino Uno:
Video Tutorial:
thanks …mein herzlichen dank
[…] http://www.mschoeffler.de/2017/12/26/diy-y-adapter-jumper-wire/ […]
This is exactly what I was looking for!
Do you have a list of the parts and tools I need to purchase to construct similar Y splitters? I’m not familiar with the crimping parts or tools but I can purchase on Amazon or another site if I know what to get.
Initially I did crimp 2 wires as you do, however, I find it easier to solder the three wires, then use heat shrink wrap to protect and strengthen the junction of the 3 wires.