
Recently, I got my hands on a SEEED XIAO BLE microcontroller. The first thing that caught my attention was the super small size of the microcontroller. It’s about half the size of an Arduino Nano that I have used in many of my previous tutorials/projects. In order to get familiar with the XIAO BLE, I started an easy project that is the topic of this tutorial. I decided to make a 3D-printed “RGB lamp”, i.e. a lamp that changes its color from time to time.
So in this tutorial, you will learn how to wire the 5V WS2812B LED strip to the 3.3V XIAO BLE. Moreover, you will learn how to program the XIA BLE to make an LED strip shine in different colors.
Related products
| XIAO BLE | |
| WS2812B LED Strip | |
| Jumper Wires | |
| Mini breadboard | |
| 3D Printer | |
| PLA Filament white | |
| PLA Filament transparent | |
| Cable ties | |
| USB-C cable |
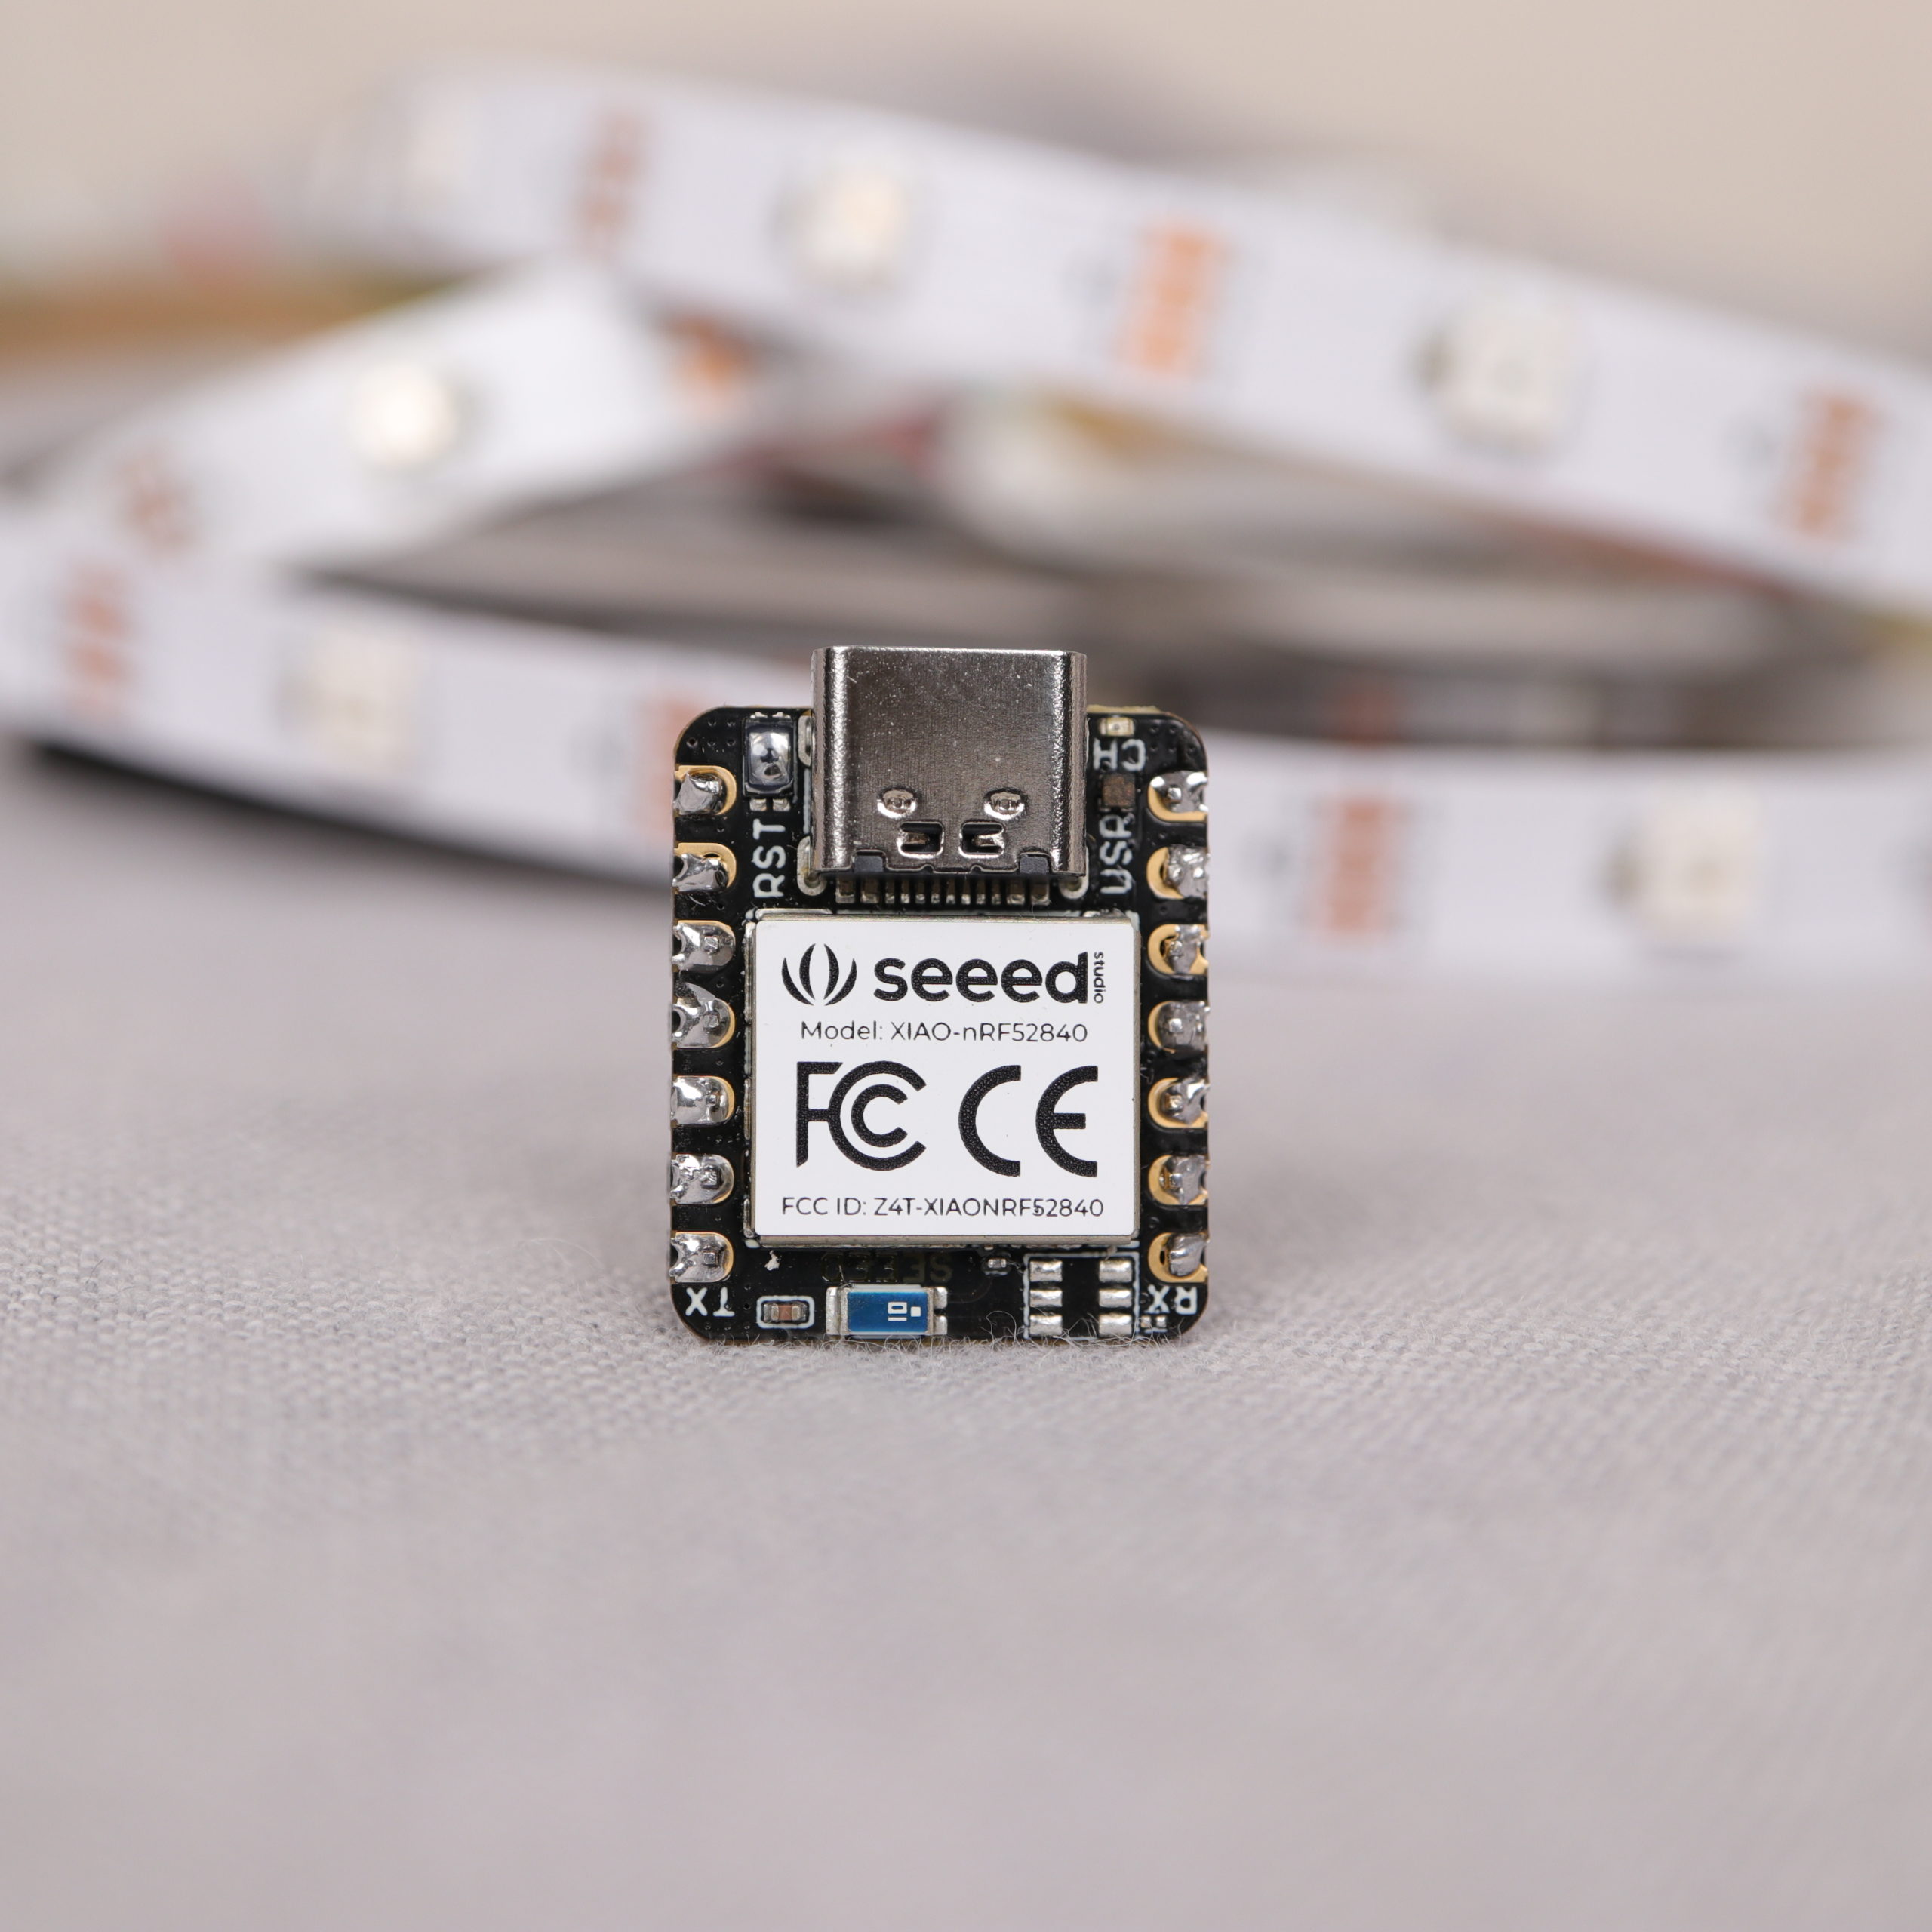
XIAO BLE
The SEEED XIAO BLE (Documentation | Product Page) is part of SEEED’s XIAO microcontroller family. The XIAL BLE comes with a Bluetooth 5.0 module which makes the microcontroller a perfect fit for wireless IoT applications. There exists also a more advanced version called XIA BLE Sense which comes with a microphone and an inertial measurement unit (IMU). In this tutorial, I just use the basic version “XIAO BLE”.
If you “originate” from the Arduino ecosystem, you can still use your Arduino IDE and many libraries to program the XIAO BLE. But be careful, some libraries won’t work on the XIA BLE since it uses a Nordic nRF52840 CPU. The Arduino microcontrollers normally come with a CPU of the ATmega family (e.g. Arduino Uno has an ATmega328 CPU). Sometimes, libraries only provide implementations for ATmega CPUs.
Features
| Item | Value |
|---|---|
| CPU | Nordic nRF52840 M4F@64MHz |
| Wireless Connectivity | Bluetooth 5.0/BLE/NFC |
| Memory | 256 KB RAM, 1MB Flash 2MB onboard Flash |
| Interface | IIC/UART/SPI |
| PWM/Analog Pin | 11/6 |
| Programming Languages | Arduino, MicroPython, CircuitPython |
| Size | 20 x 17.5mm |
Tutorial XIAO BLE, WS2812B LED Strip and NeoPixel Library
First, the tutorial shows how to wire an WS2812B LED strip to an XIAO BLE. Then, the programming of the LED strip is explained. Finally, a 3D-printed lamp is presented where the XIA BLE can be inserted and the LED strip can be attached.
Wiring
The WS2812B requires a 5V power source. Although the XIA BLE is a 3.3V-based microcontroller, it can provide 5V on its 5V pin when powered by USB cable. Since we want to use a USB cable to power our RGB lamp, we can use the 5V pin to power the WS2812B LED strip.
The LED strip’s DATA IN pin can be connected to one of the PWM pins of the XIAO BLE. In my setup, I connected the DATA IN to pin D0. I found some reports on the Internet, in which people had some problems using 3.3V-based microcontroller with the LED strip’s DATA IN pin. Luckily, I had no problems with the XIAO BLE.
| XIAO BLE Pin | WS2812B LED Strip Pin |
|---|---|
| 5V | +5V (red) |
| GND | GND (white) |
| D0 | DATA IN / DIN (green) |

Programming
Normally, I use the FastLED library when I want to control an WS2812B LED strip. As I mentioned before, the XIAO BLE comes with an nRF52840 CPU. When I tried to use the FastLED library, I got some issues. For me it looks like that the nRF52840 CPU is not well supported yet. Normally, I really dig into the problem and try to find the root cause. But this time, I was eager to try out Adafruit’s NeoPixel library, which I’ve never used so far. Therefore, I can not tell for sure whether FastLED does work or does not work with XIAO BLE. Fortunately, NeoPixel worked right from the start.
The example program is very simple. First, I initialize a NeoPixel object in order to control the LED strip. In the loop function, a variable “current_hue” is incremented. The idea is that with each loop call, the color (hue) changes. As a result, the LED strip will shine in all possible colors (always with same brightness and saturation but different hue). After a lot of loop calls, there will be an “integer overflow”. Luckily, this won’t be a problem since then “current_hue” is then set to zero and the first hue is shown again.
/*
MIT License
Copyright 2022 Michael Schoeffler (https://www.mschoeffler.com)
Permission is hereby granted, free of charge, to any person obtaining a copy of this software and associated documentation files (the "Software"), to deal in the Software without restriction, including without limitation the rights to use, copy, modify, merge, publish, distribute, sublicense, and/or sell copies of the Software, and to permit persons to whom the Software is furnished to do so, subject to the following conditions:
The above copyright notice and this permission notice shall be included in all copies or substantial portions of the Software.
THE SOFTWARE IS PROVIDED "AS IS", WITHOUT WARRANTY OF ANY KIND, EXPRESS OR IMPLIED, INCLUDING BUT NOT LIMITED TO THE WARRANTIES OF MERCHANTABILITY, FITNESS FOR A PARTICULAR PURPOSE AND NONINFRINGEMENT. IN NO EVENT SHALL THE AUTHORS OR COPYRIGHT HOLDERS BE LIABLE FOR ANY CLAIM, DAMAGES OR OTHER LIABILITY, WHETHER IN AN ACTION OF CONTRACT, TORT OR OTHERWISE, ARISING FROM, OUT OF OR IN CONNECTION WITH THE SOFTWARE OR THE USE OR OTHER DEALINGS IN THE SOFTWARE.
*/
/*
* Example source code of an Seeed XIAO BLE tutorial on how to conctrol an WS2812B LED strip.
*/

#include <Adafruit_NeoPixel.h>
#define PIN D0
#define NUMPIXELS 12
#define DELAY 5 // 5ms between each hue change

uint16_t current_hue = 0; // in each loop call, the hue of the led strip color will be increased by 1

Adafruit_NeoPixel pixels(NUMPIXELS, PIN, NEO_GRB + NEO_KHZ800); // neo pixel object that is used to control the LED strip

void setup() {
  pixels.begin();
}

void loop() {
  current_hue = current_hue + 1; // In order to change the hue of the WS2812B LED strip, the hue i increased.

  for (int i = 0; i < NUMPIXELS; ++i) { // iterate over all pixels
    pixels.setPixelColor(i, pixels.ColorHSV(current_hue, 255, 255)); // set color of pixel
  }
  pixels.show();

  delay(DELAY); // wait for 5ms
}
3D-printed RGB Lamp
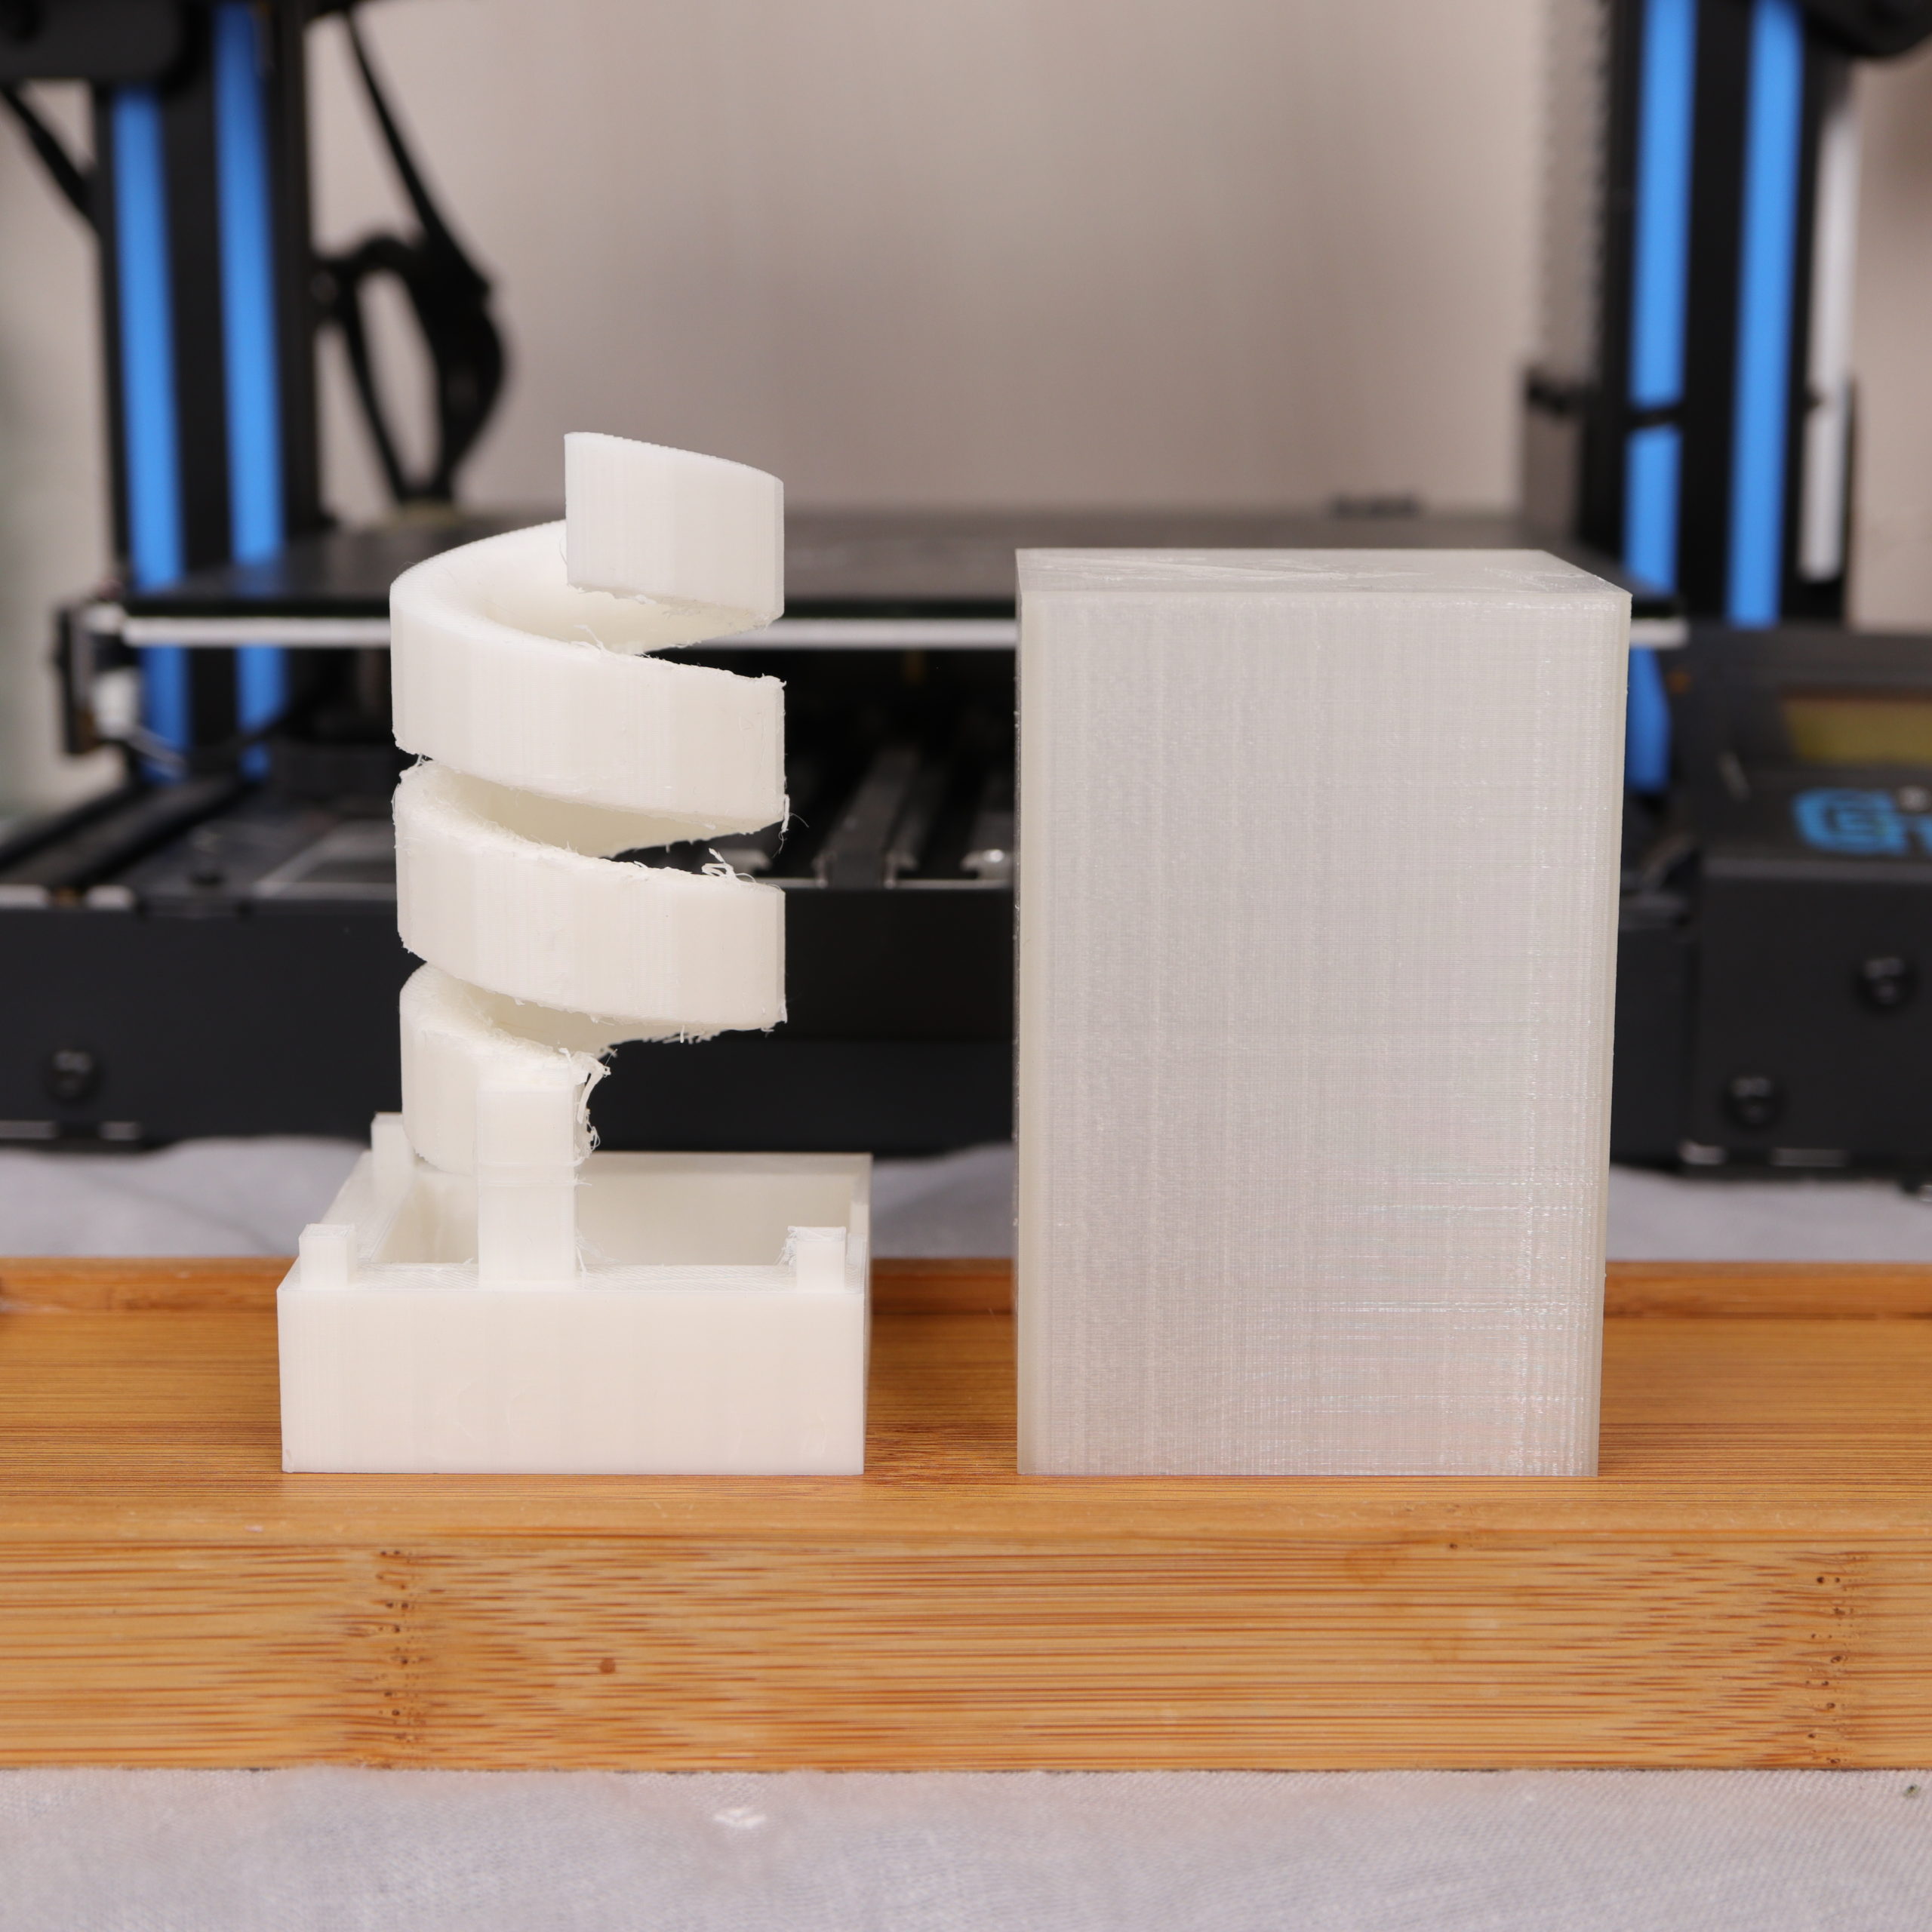
I designed a very basic 3D-printed lamp for this tutorial. The lamp has two parts.
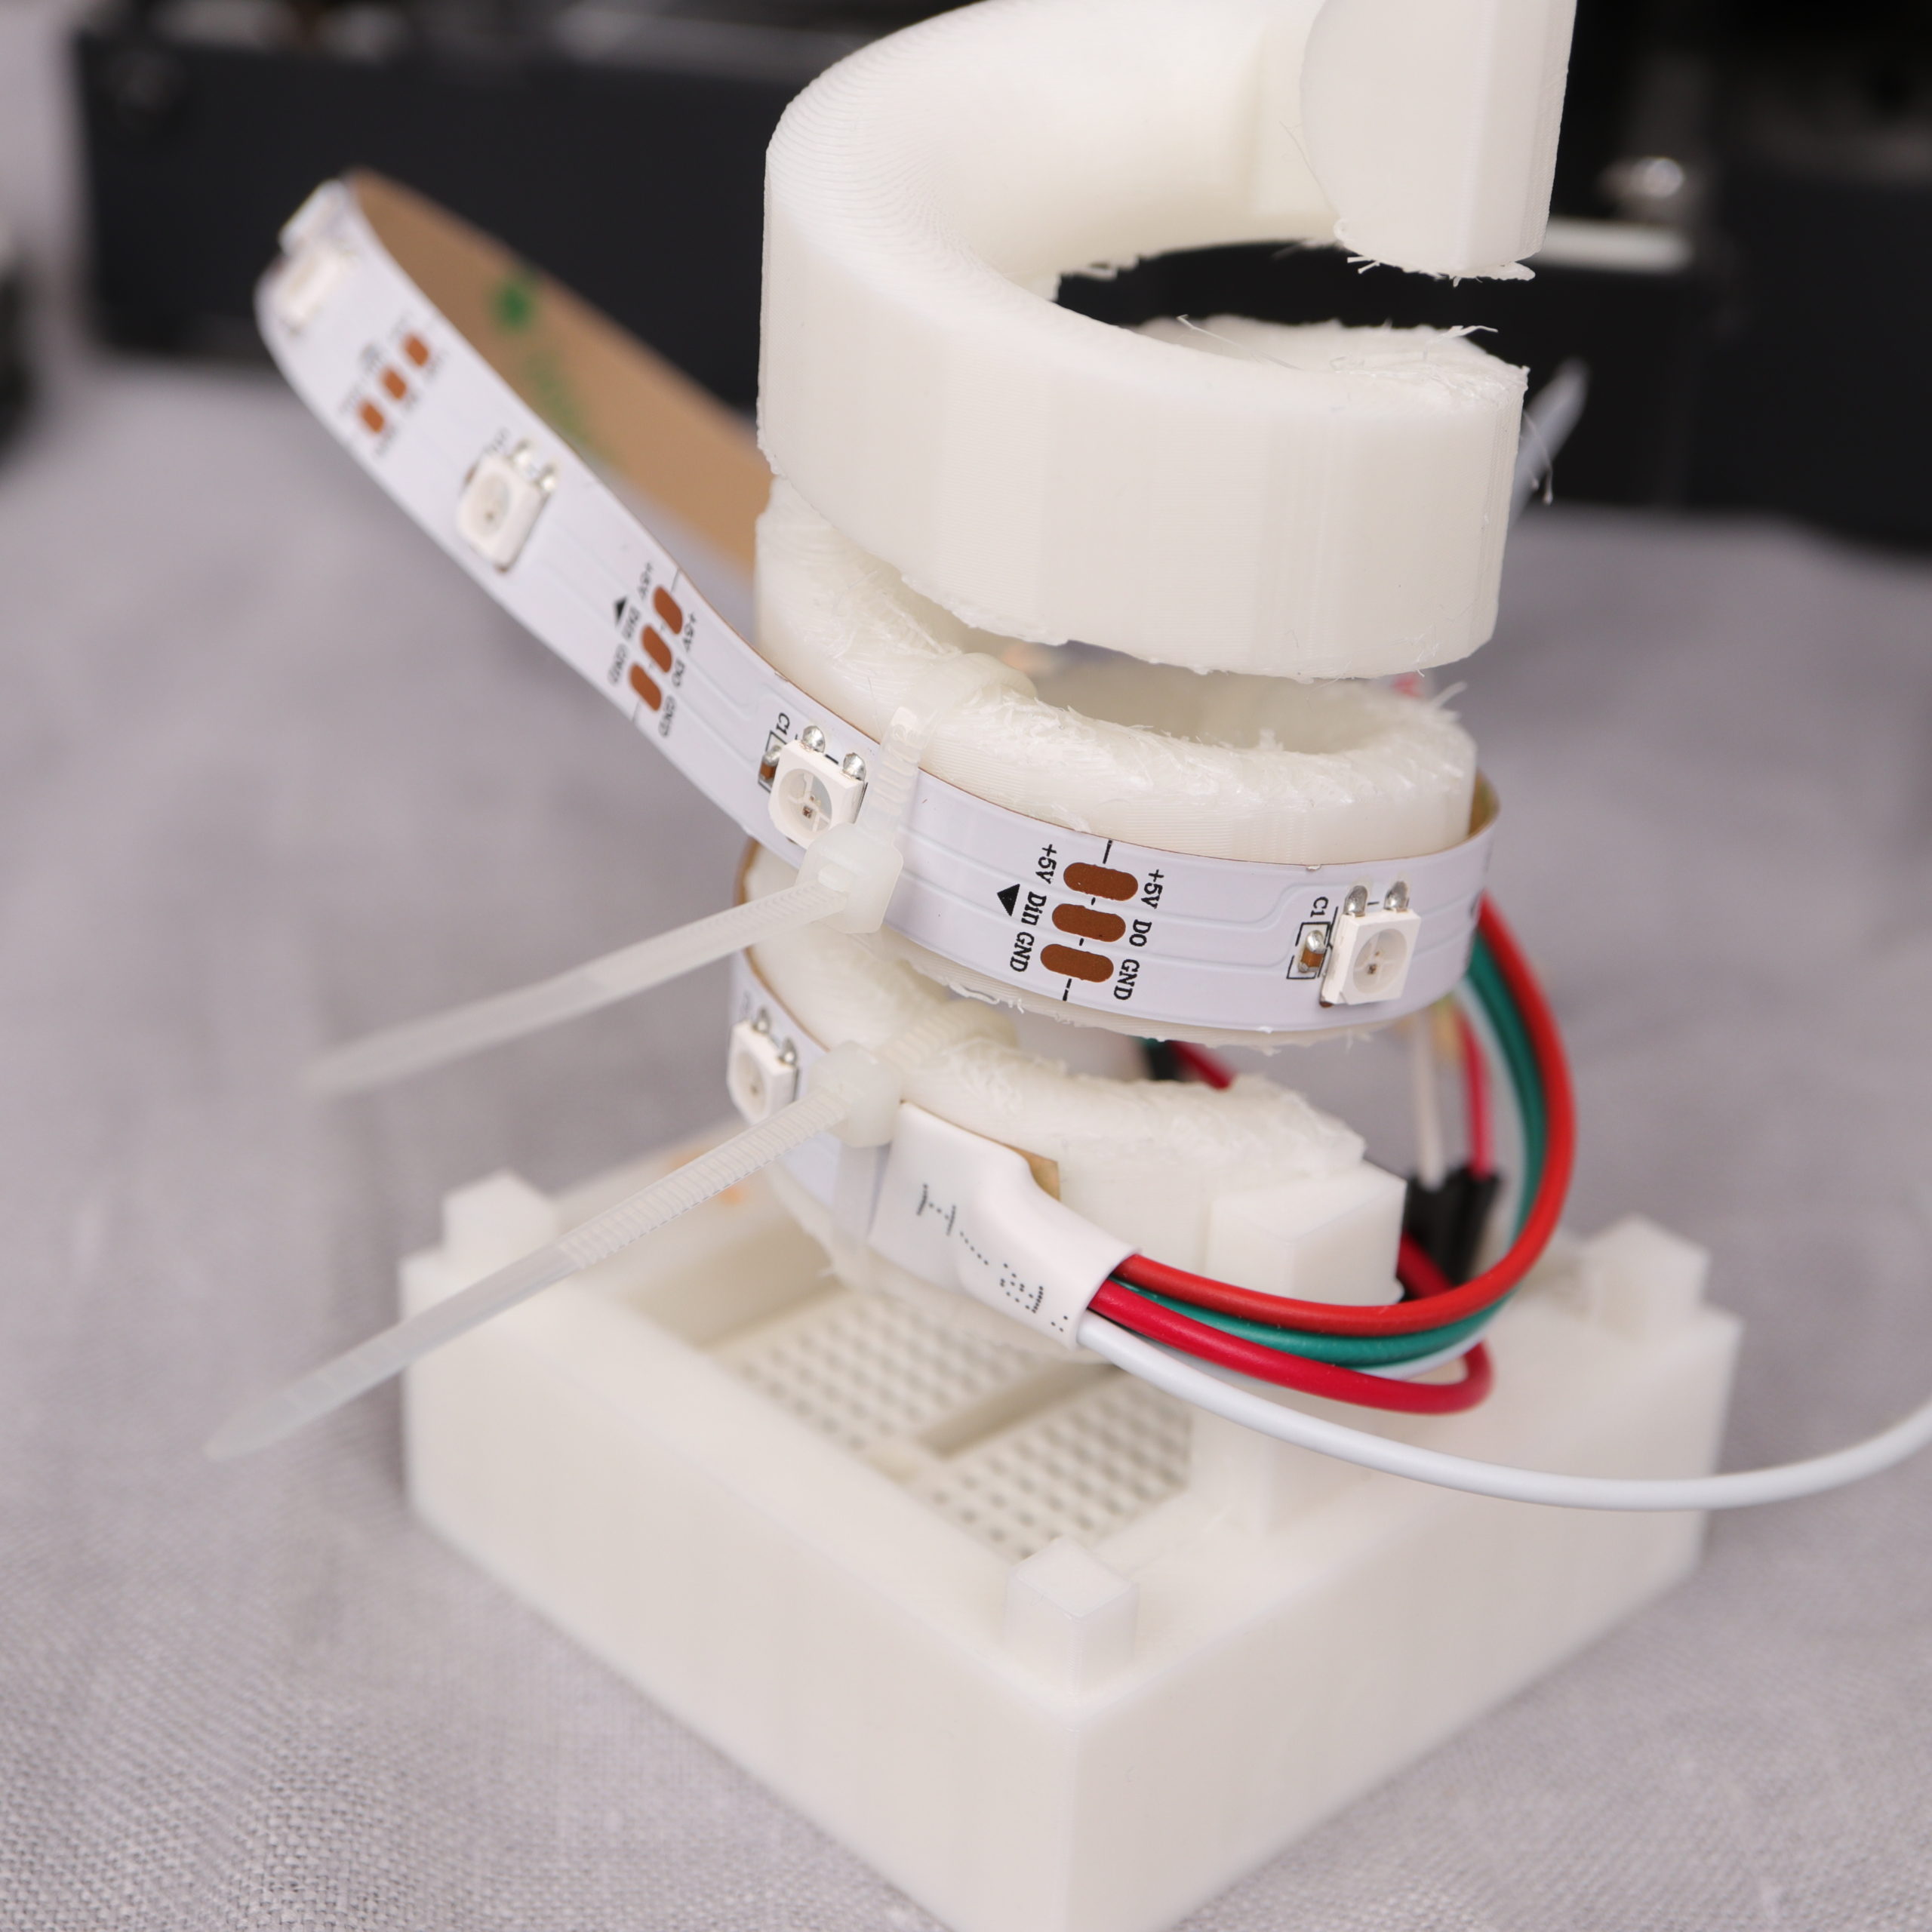
The first part is used to insert the XIAO BLE. It will fit perfectly into the lamp if one of these common mini breadboards are used.

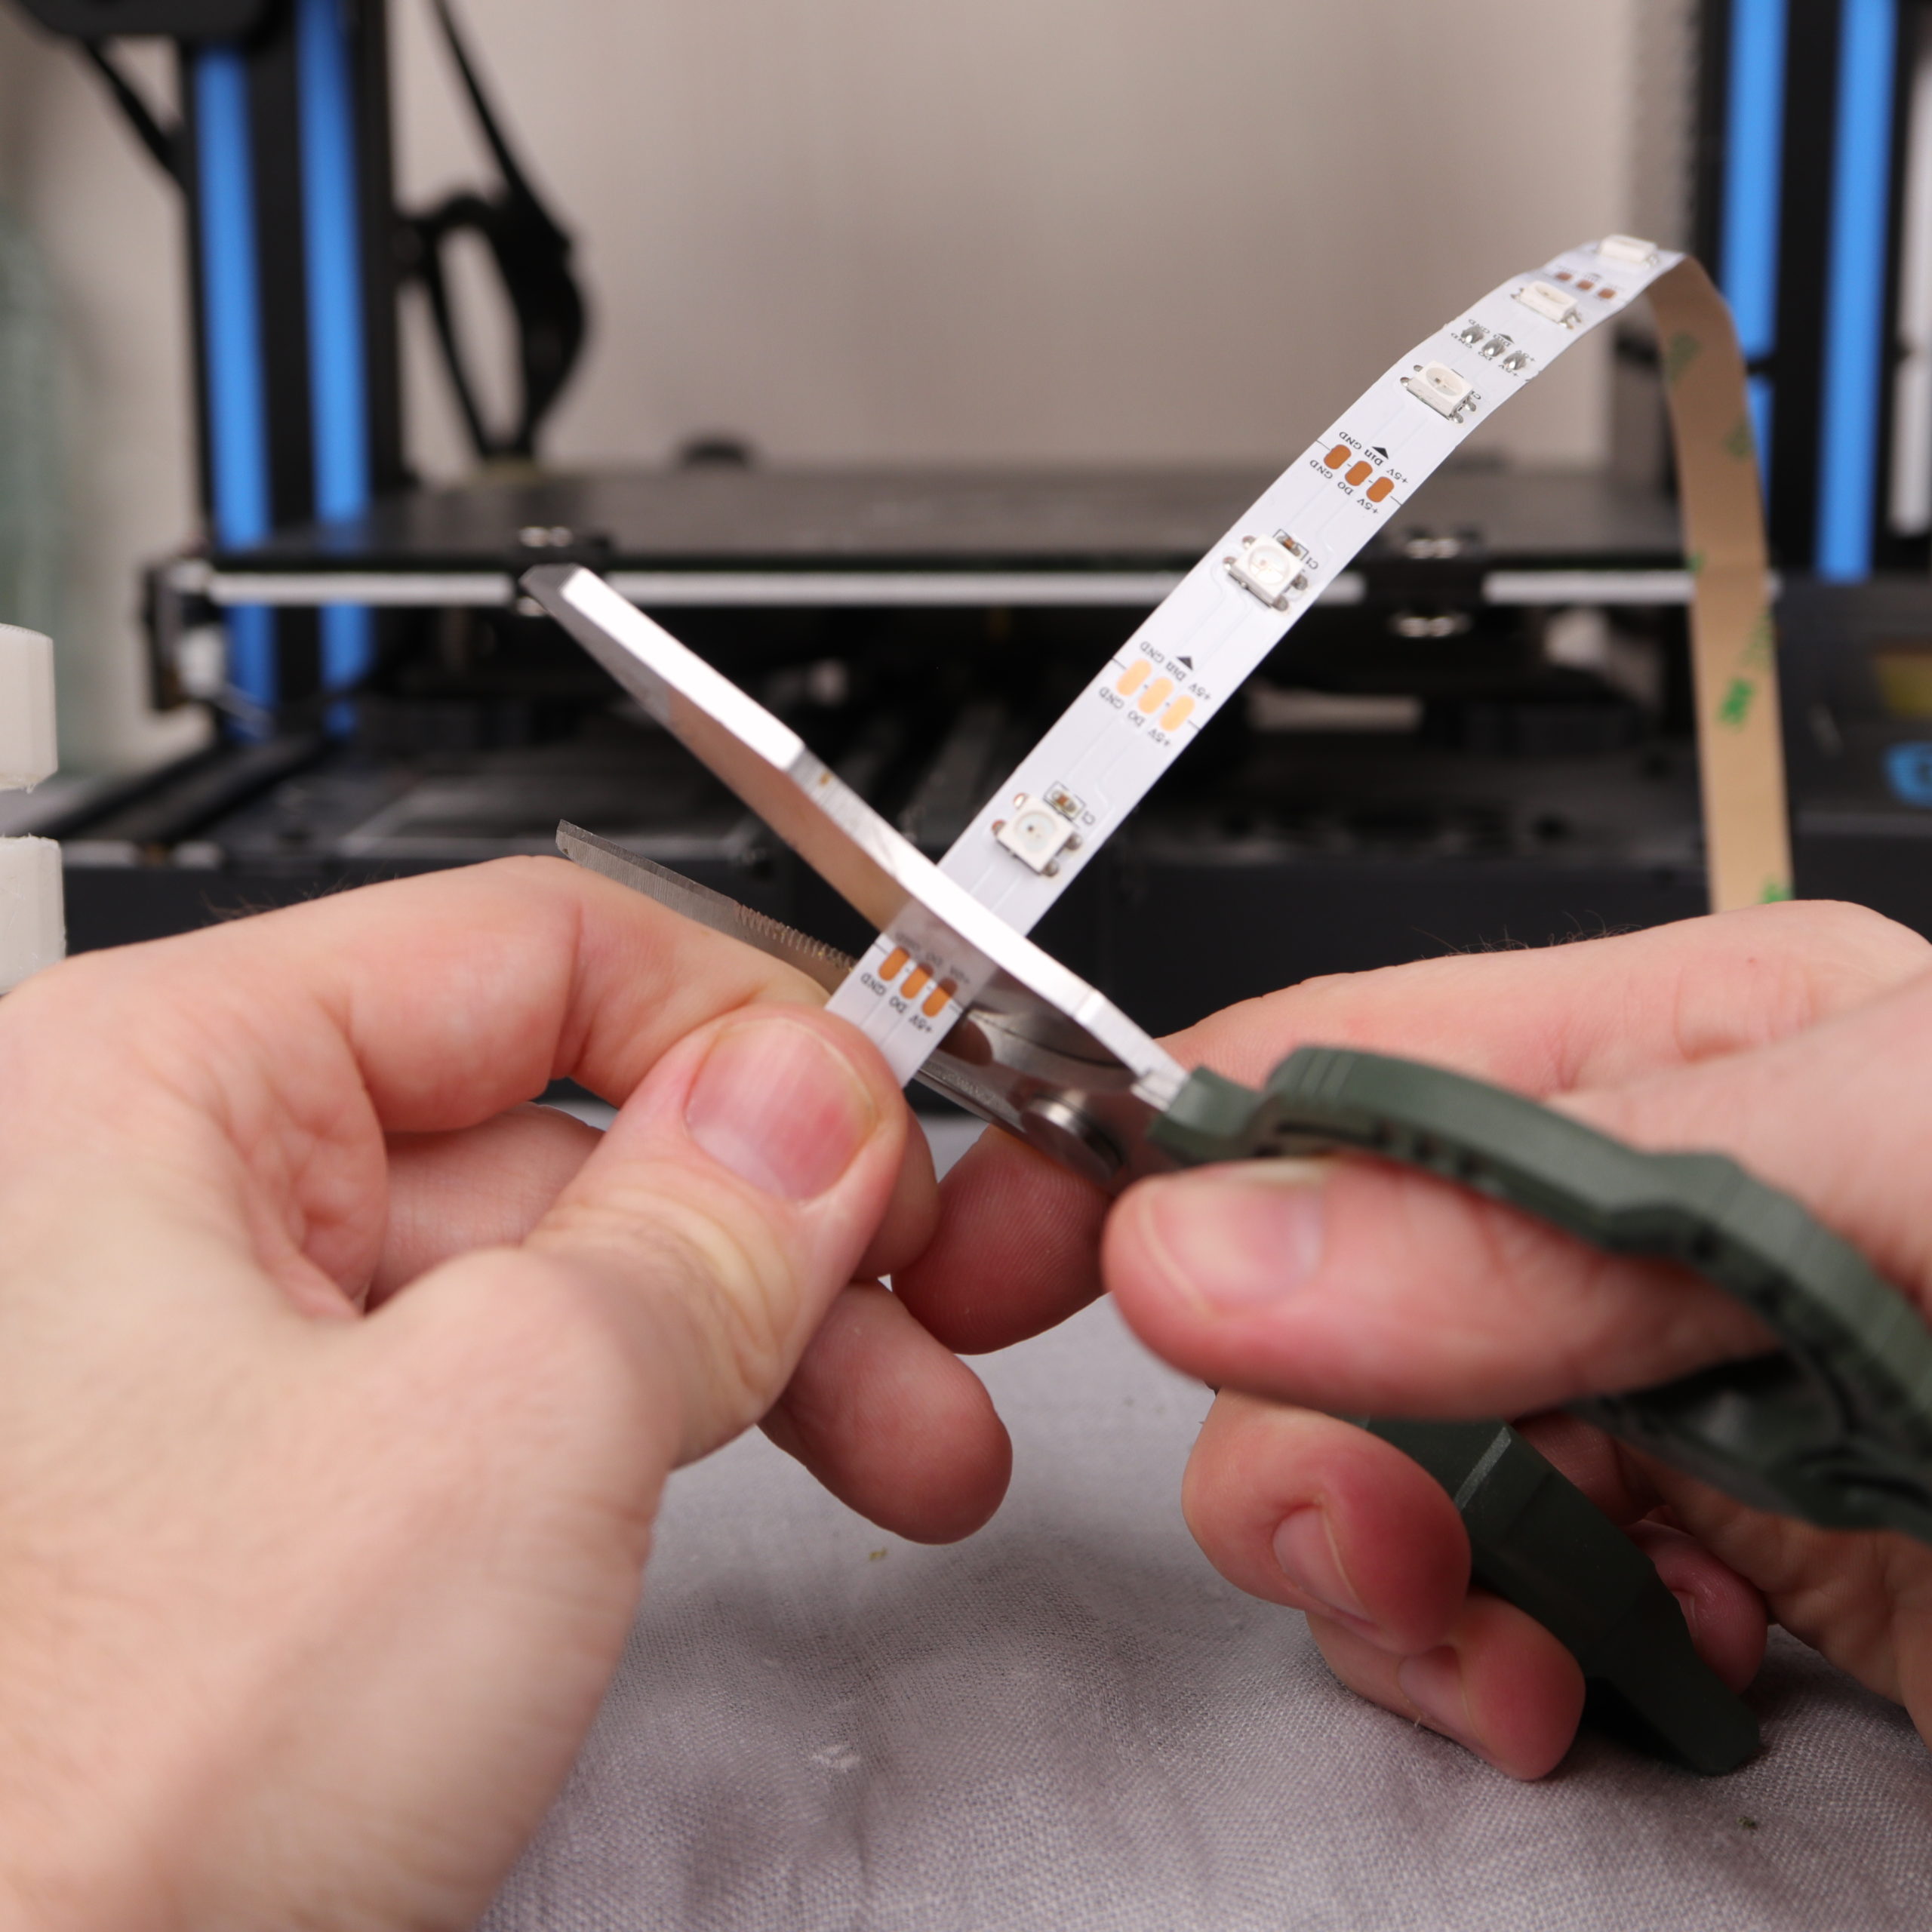
The first part has a special shape to attach the LED strip to it. Just cut the LED strip to the right length (for me 12 pixels/LEDs was the right length).
Then, use some cable ties to attach the LED strip to the shape.
The second part is the outer shell of the RGB lamp. This part should be printed with transparent filament. The second part can be placed on top of the first part. It should hold tight on the first part.
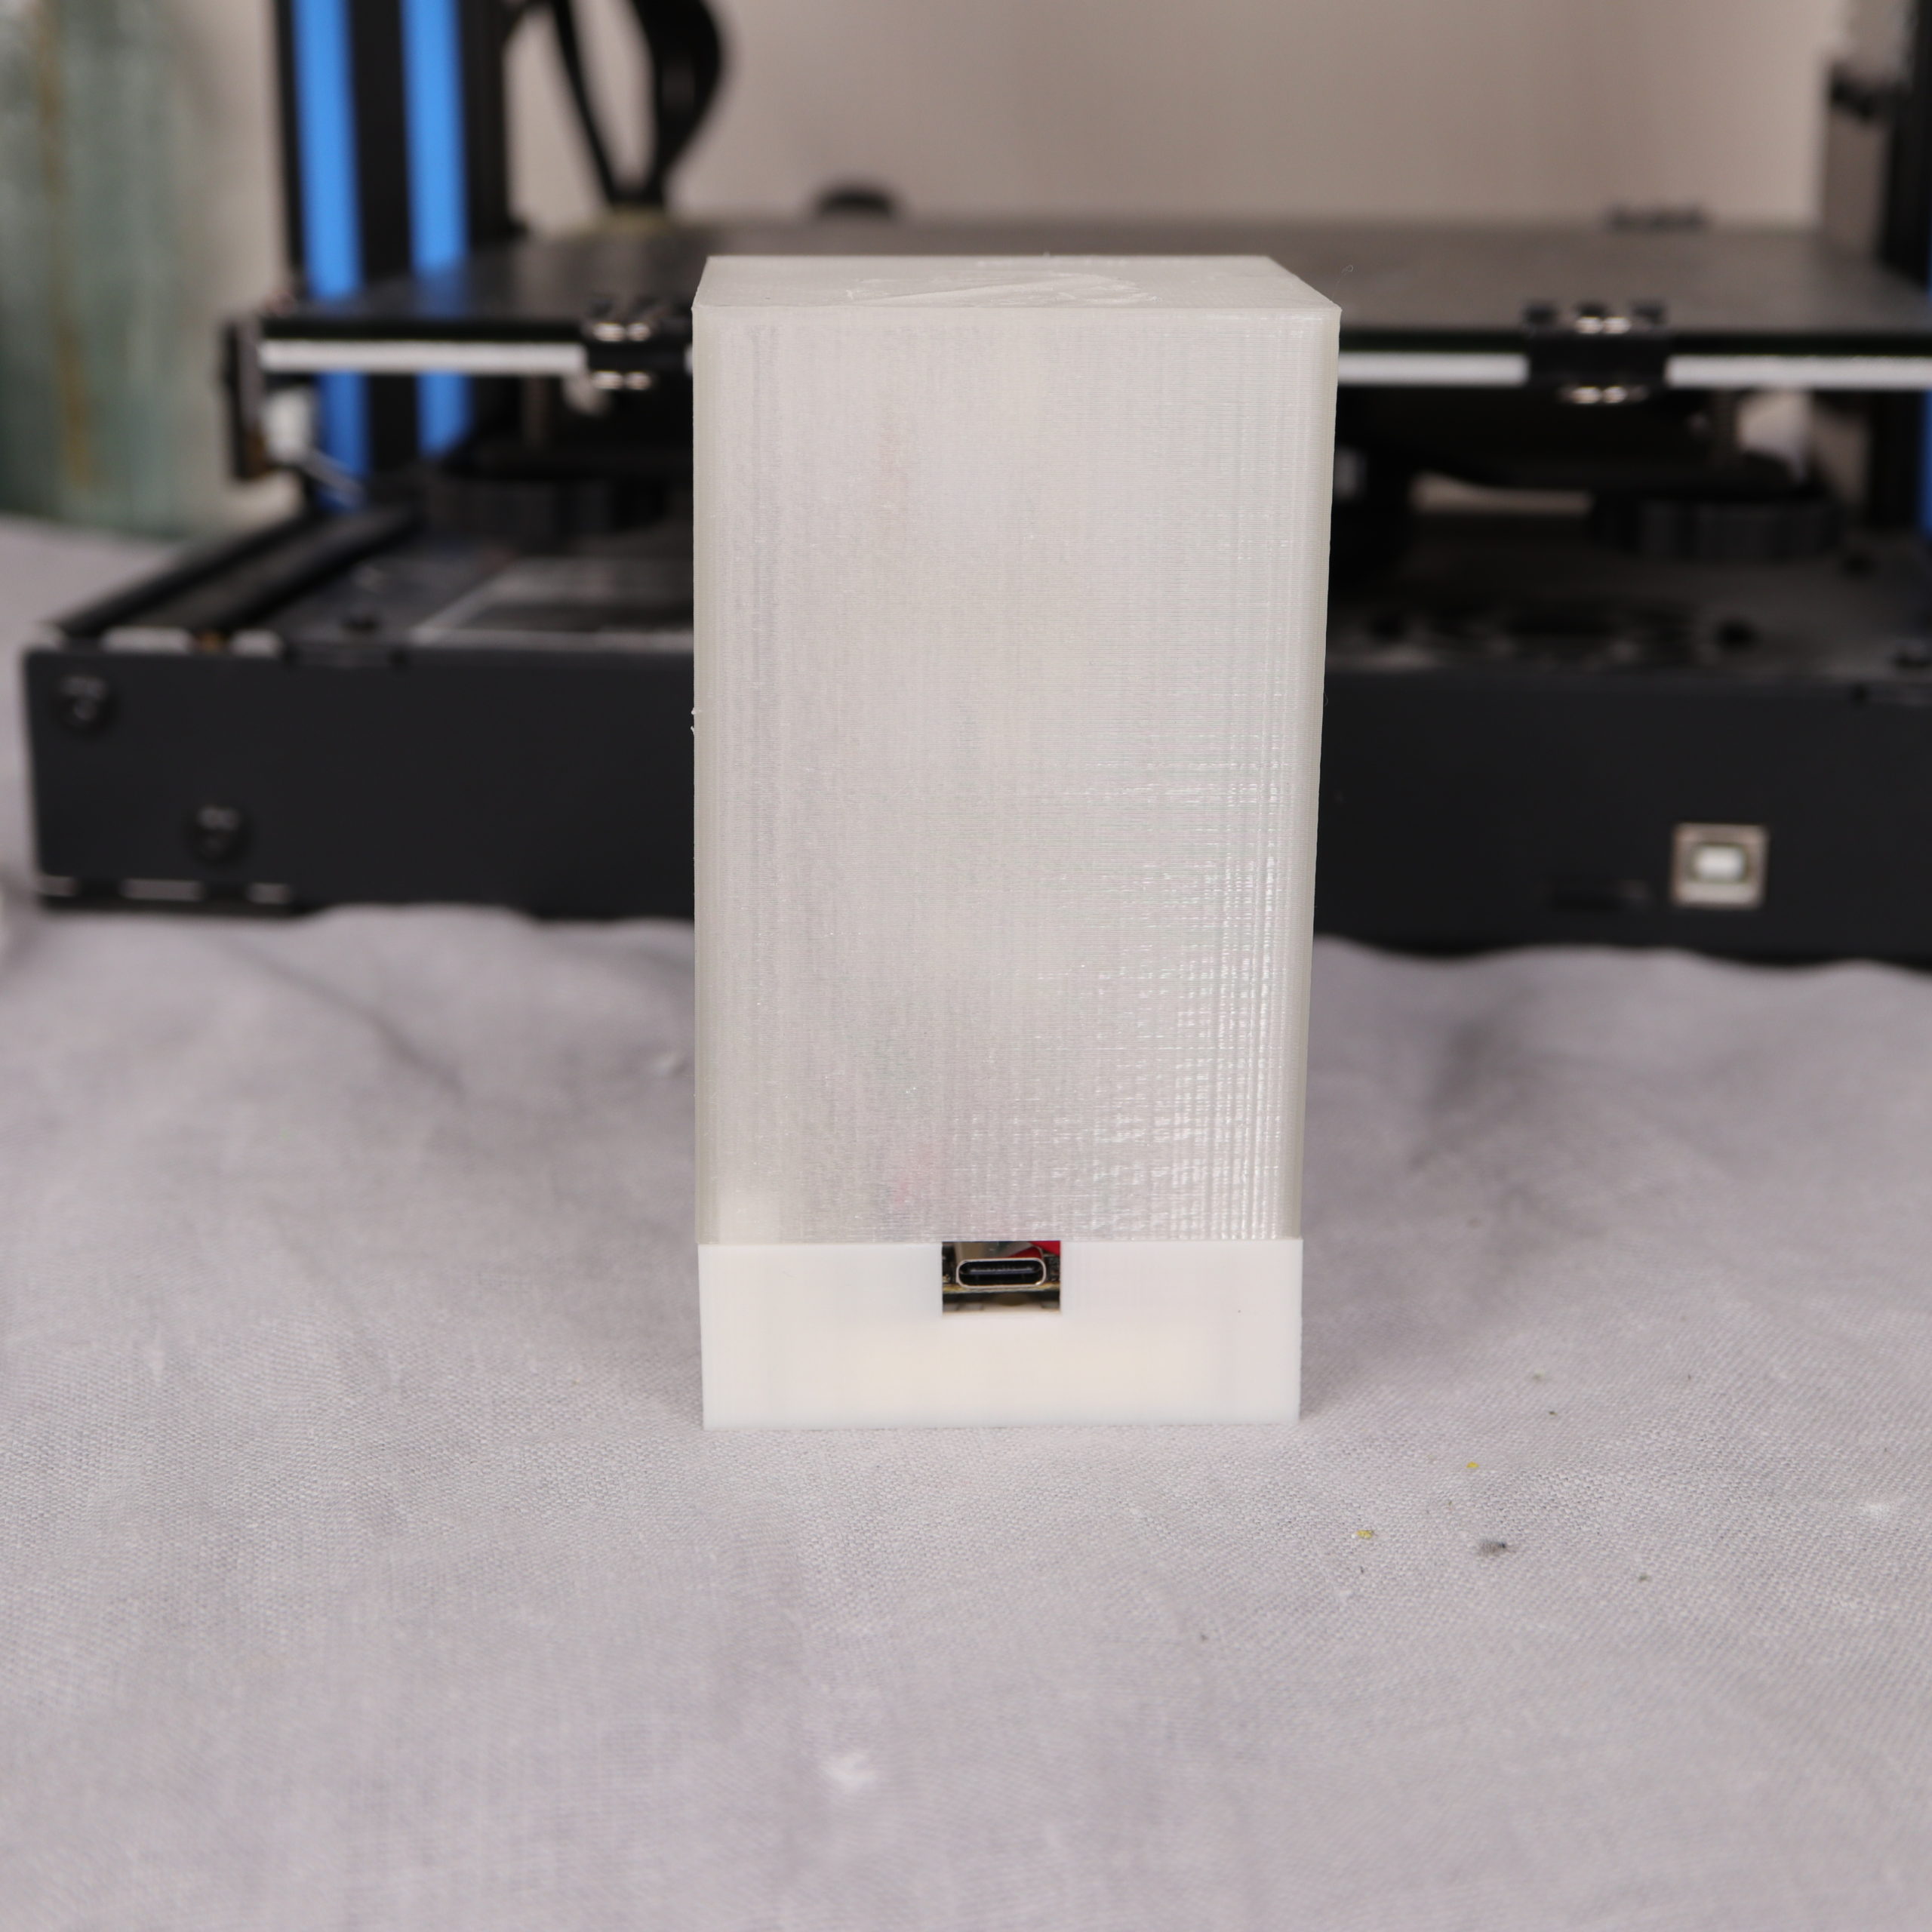
For my prints I used white PLA filament (first part) and transparent PLA filament (second part). Both parts were printed on a Geeetech A10 3D printer. If you are interested in the model, you can download both here:
| Name / STL File | Image |
|---|---|
| Bottom (First Part) | 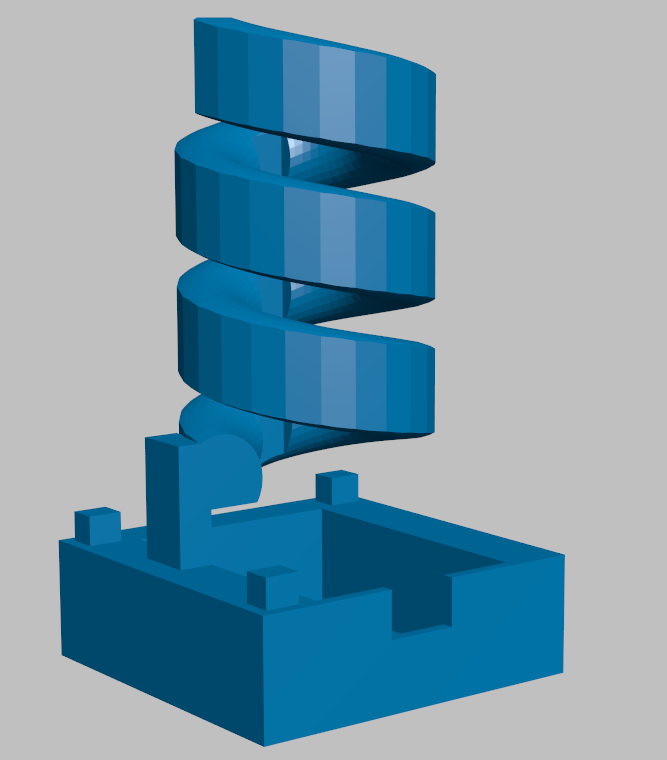 |
| Top (Second Part) |  |
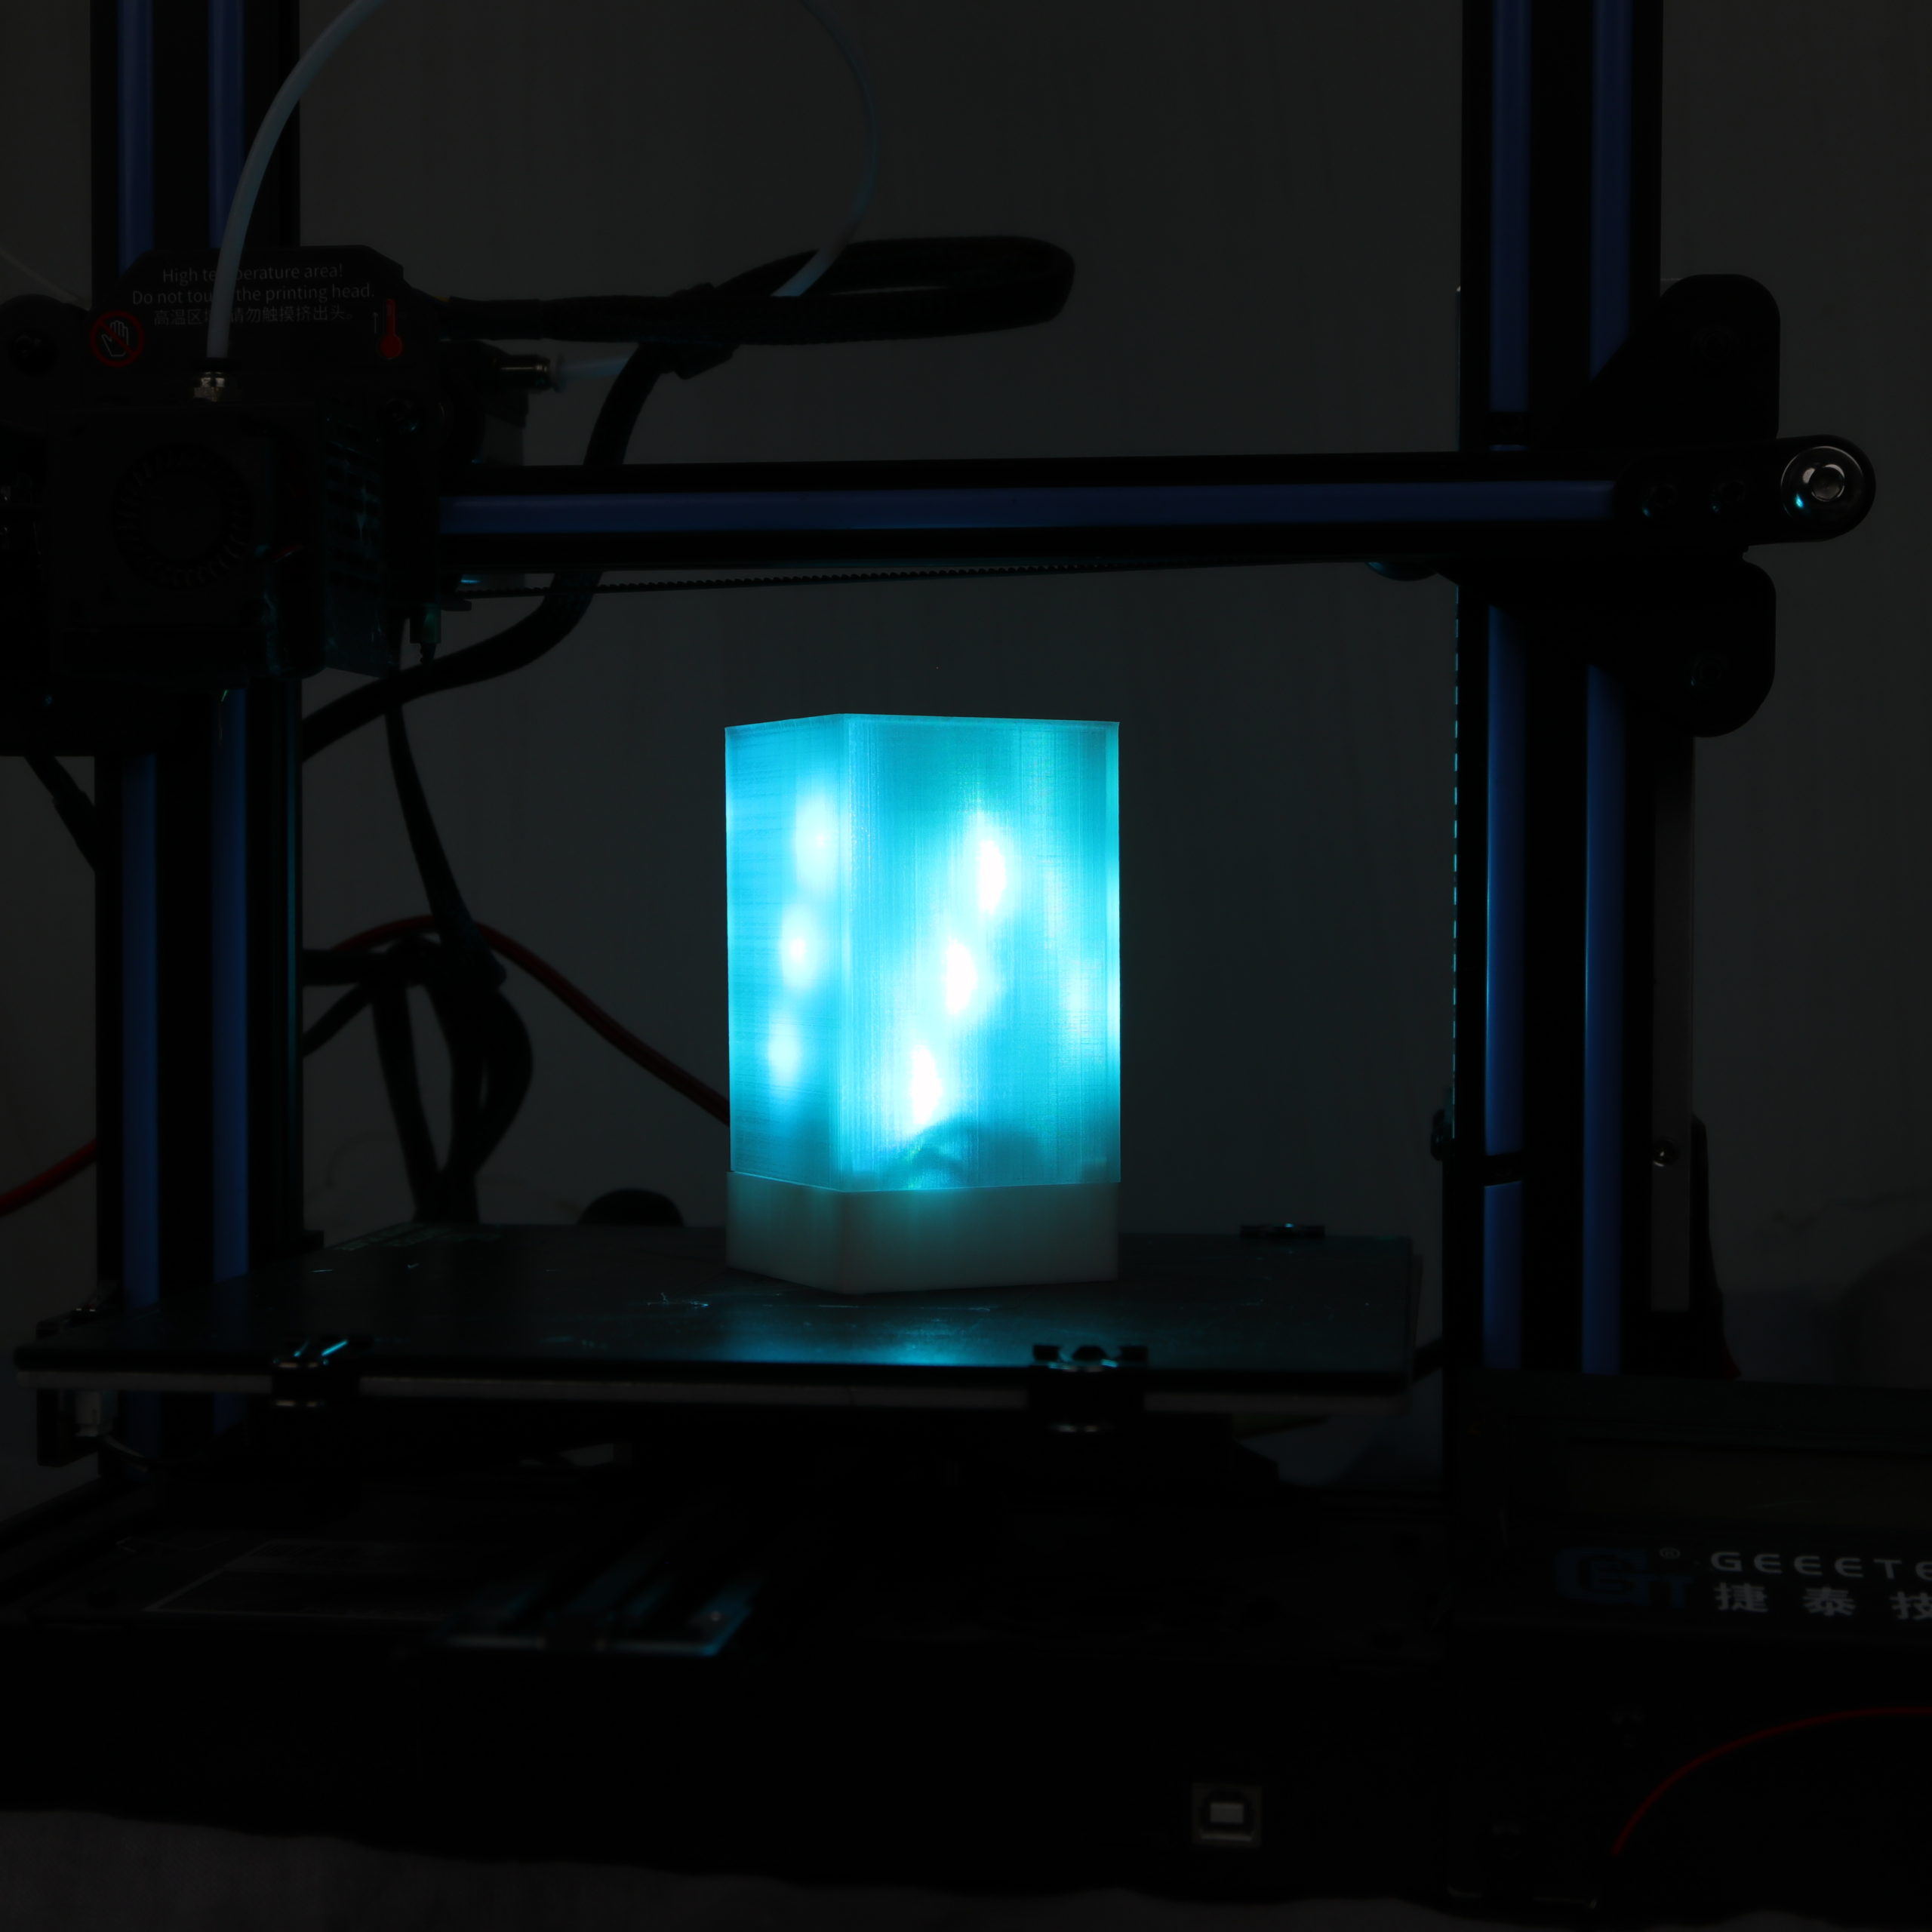
Application
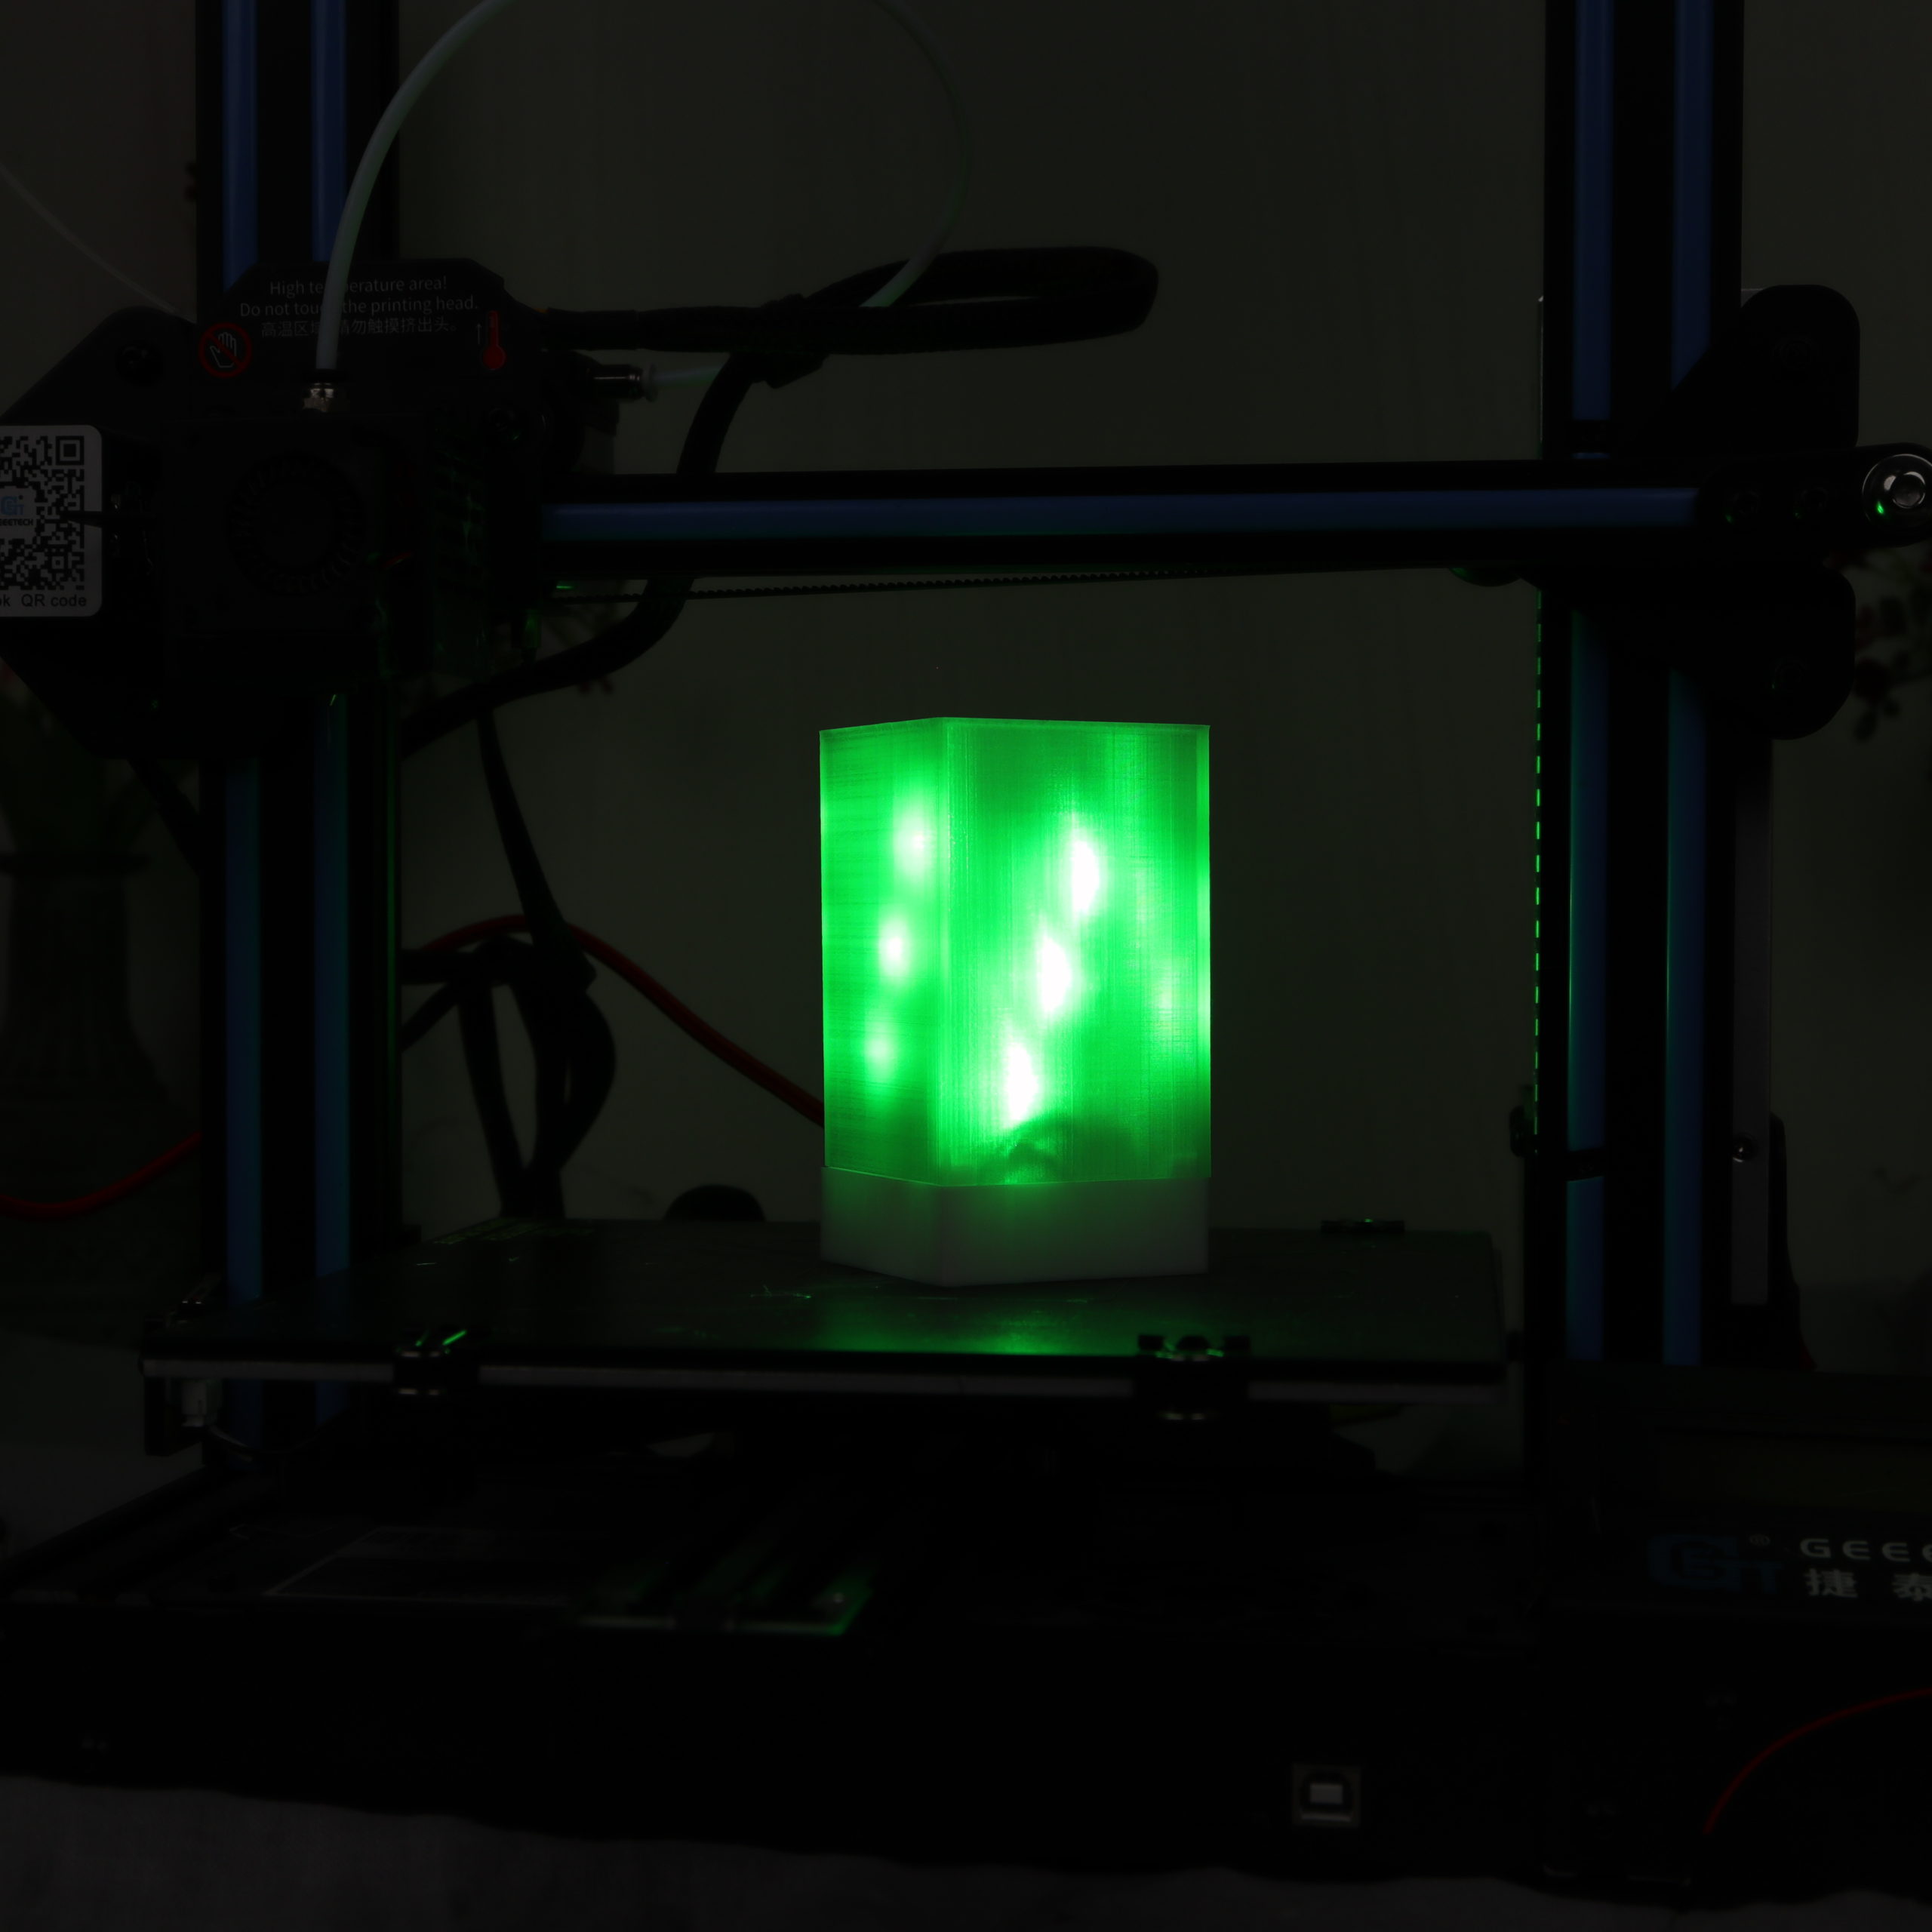
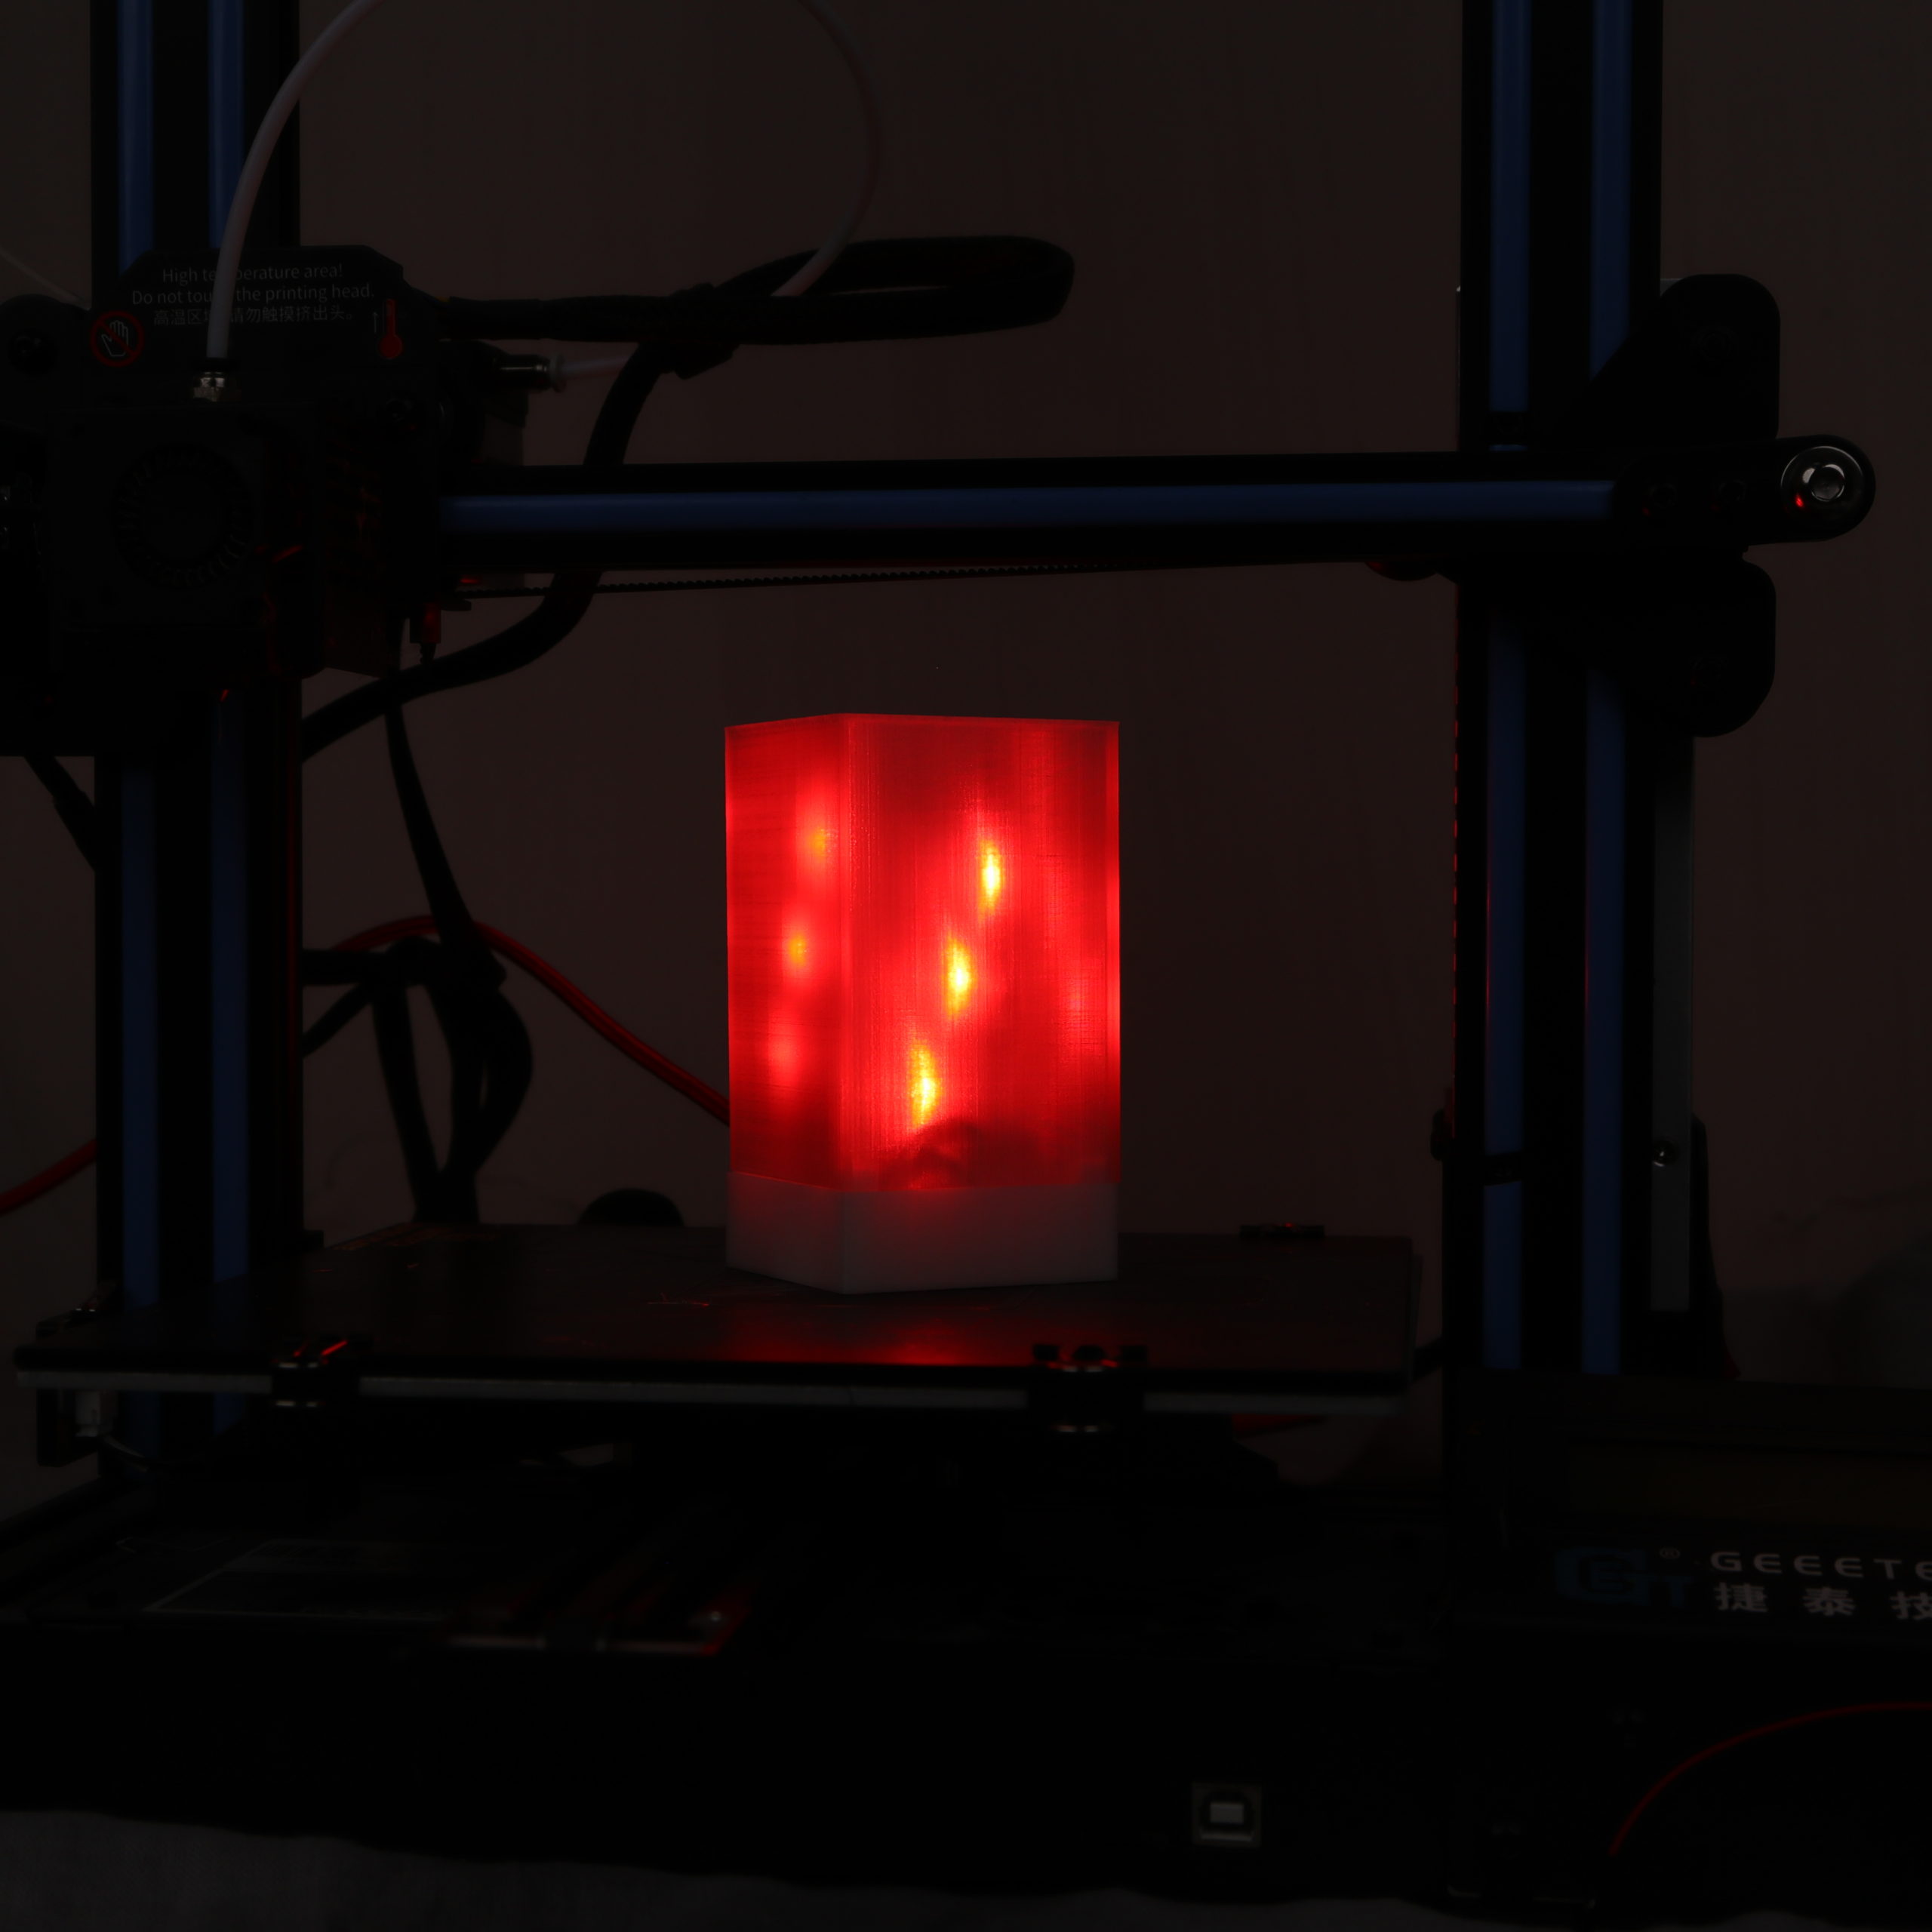
Now, the RGB lamp is ready to be used. If everything has been executed correctly, the RGB lamp should shine in different colors.
So, I hope you enjoyed this little tutorial on how to use the XIAO BLE. Overall, I like working with the XIAO BLE a lot. Especially if you have only limited space for your microcontroller, the XIAO BLE is an excellent choice.
Unfortunately, there might be some compatibility issues with some libraries that were originally made for the Arduino. At least until now, I always found alternative libraries or other workarounds.
why is there no mentioning of the BT5 functionality? can I use Thread with it?
Did you try adding BLE control of the lights yet?